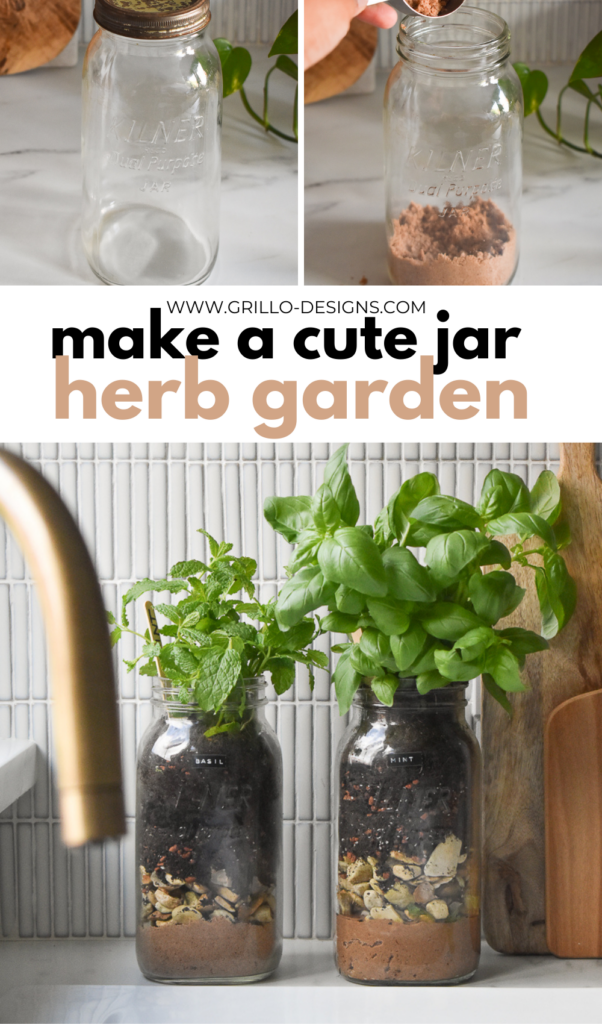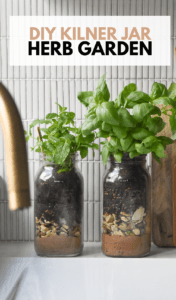
Don’t you just love when a quick browse in a vintage/ antique shop inspires a new DIY project idea? I picked up these vintage Kilner jars at a local antique store over the weekend. As soon as I saw them, I knew exactly what I wanted to do with them! Make a jar herb garden!

Since I’ve renovated my kitchen, cooking and spending time in there has felt so much more enjoyable.
Can’t believe I’m actually saying this by the way? We’ve come a long way from a time when I didn’t even want to let friends in there!! (hopefully I can get there with our bathroom too!) but now, I’m slowly building up my cooking ingredients in my kitchen, making it look really homely and as the weather gets cosier here in the UK enjoying, making tarts and soups (yeah, I don’t know who I am either!) – you can see my styled pantry here.
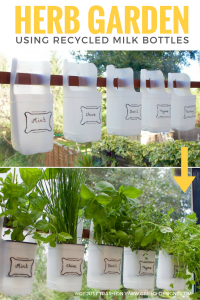
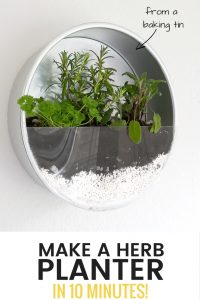
I’ve always wanted a herb garden in a jar; actually quite a few years back you might remember that I made this baking tin herb garden. It lasted for about 6 months before the herbs died. In hindsight, I don’t feel I built up enough drainage system to keep the roots from rotting hence their sudden demise.
So this time round, I made sure I did some proper research into ensuring they had good drainage. Now I’m hoping these herbs last a lot longer (I’ll update you on my Instagram should things go sideways) but scroll below and see my top tips on how to create a DIY mason jar herb garden. This project is accessible in every way — affordable and quick to assemble.
This post may contain affiliate links. Please see disclosure page here.
Materials needed:
- Jar (this can be Kilner jar, an empty sauce or mayonnaise jar, whatever you have)
- Sand
- Rocks/ pebbles
- Herbs
- Potting soil
- Horticultural Charcoal (optional)
How to:
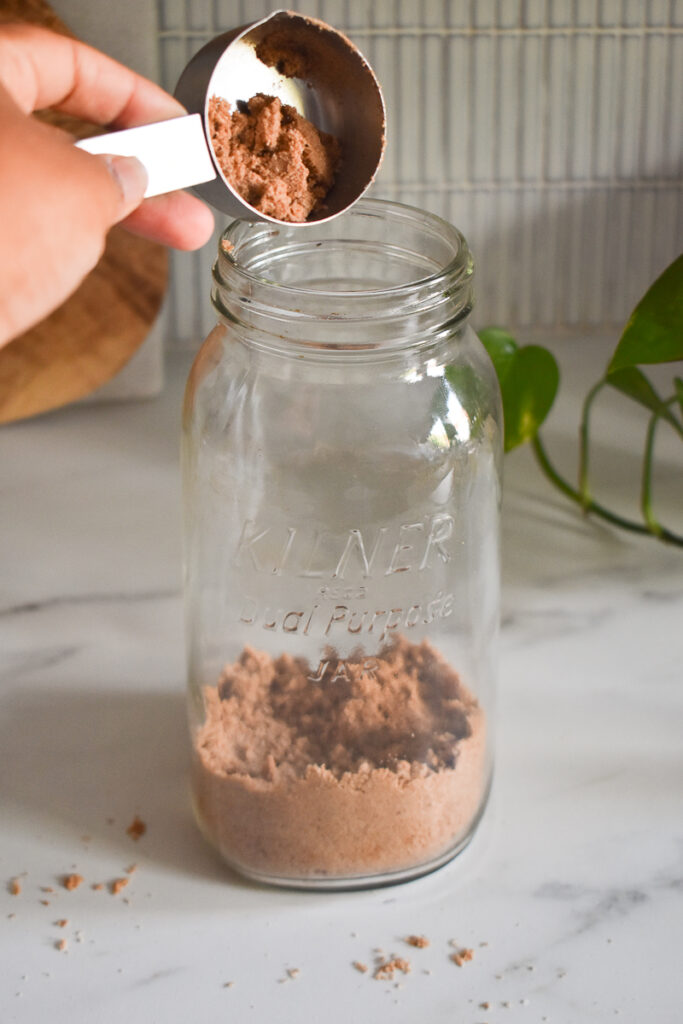
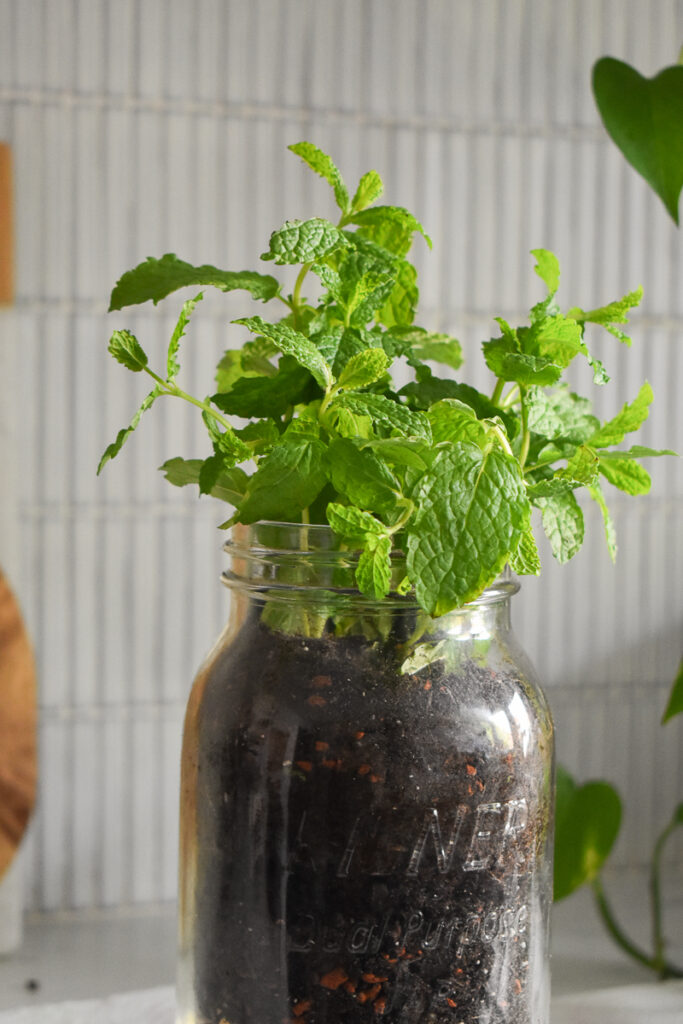
Drilling holes into kilner jars can be tricky so, you’ll want to make sure you give your plants sufficient drainage with a generous layer of rocks or pebbles. I first started with about an inch layer of sand ( I actually got this from my sons outdoor sand pit)
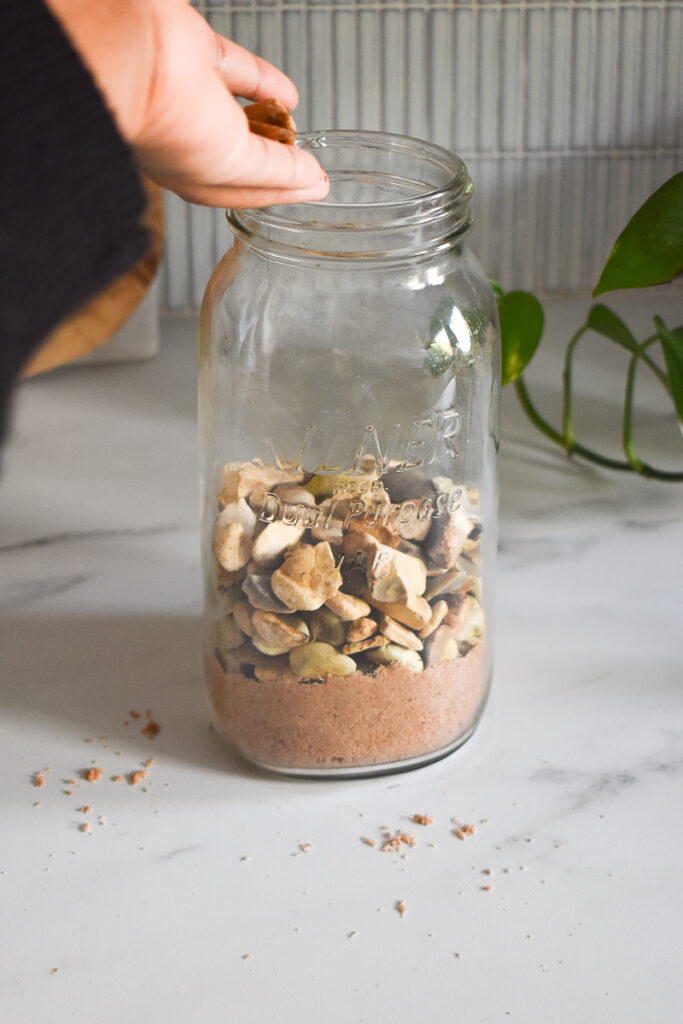
Next I added some pebbles/ stones, you’ll need at least a 2 inch layer for water drainage (again from my garden)
At this point you could also add horticultural charcoal I mentioned to further help absorb moisture, but I skipped this step as I didn’t have any at the time. You can buy some from here
Next potting mix soil. It should fill up the rest of your jar. Make a small well in the middle in preparation for your herb!

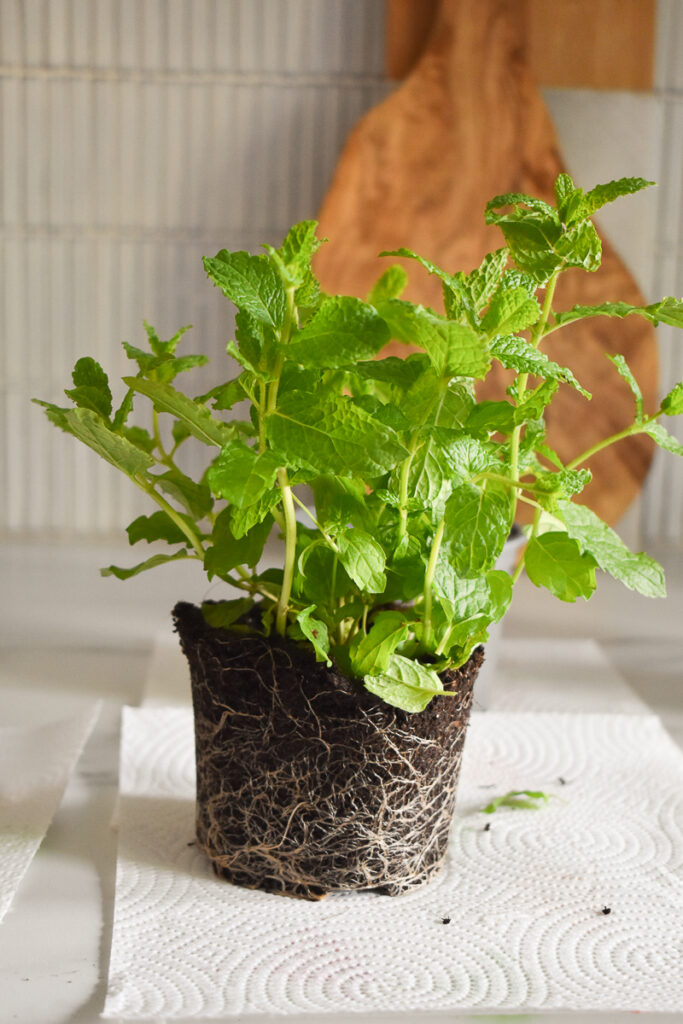
I used store bought herbs. I removed them from the the pot and placed inside the mason jars. You can also use seedlings or seeds too (which would make for a fun activity with the little ones too)
Add labels / to identify plants – although to be be honest the smell alone of each herb is usually enough! If you’re looking for an emoting label maker, this one is great!
Water, and you’re done!

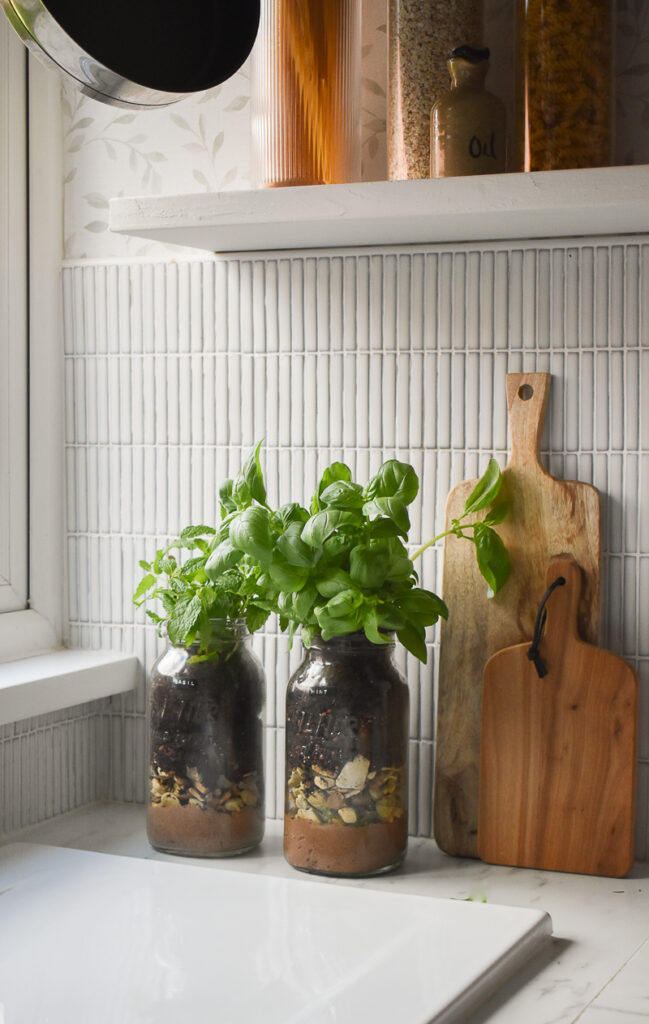
Now pop them on your window sill or in a corner of your kitchen , and enjoy! I used basil and mint for this DIY jar herb garden, but I’ll definitely be adding more. Which fresh herbs do you have in your kitchen?